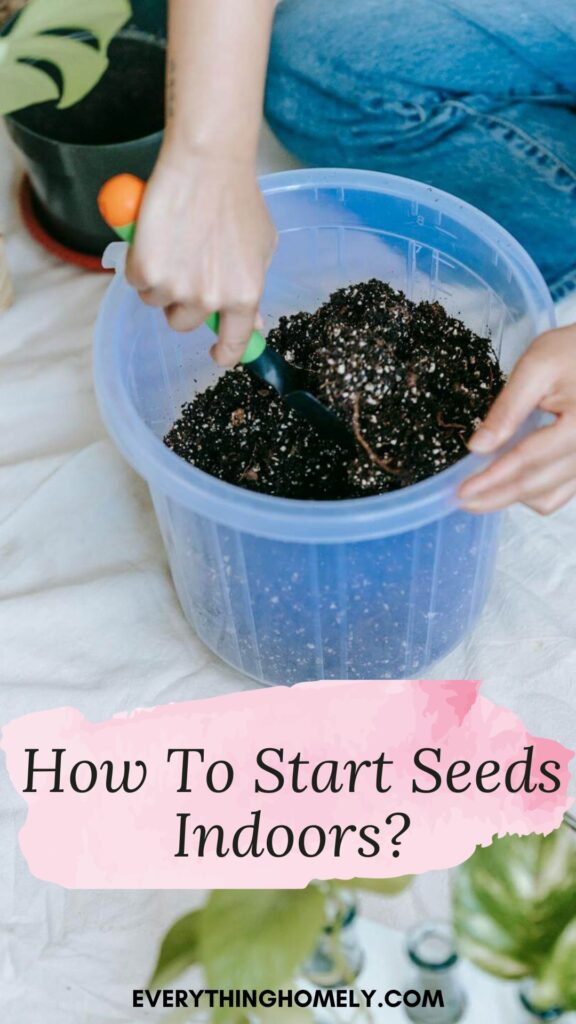
Coaxing a new life out of a seed is highly exciting. If you are wondering how to start seeds indoors, the arrival of spring is the perfect time to kickstart it.
You can start plants that require warm weather and soil indoors well in advance. Growing from seed does not require much time, effort, or materials.
Gardening can be expensive when purchased from potted nursery specimens.
You can start most ornamental flowers, vegetables, and herbs indoors from seeds. This is an inexpensive way to populate the spring garden. You can choose far more varieties than what is available in local nurseries.
Knowing and planning how and when to start seeds indoors is crucial.
Once the seeds sprout and grow into tiny saplings, you can transplant them into the ground or larger containers.
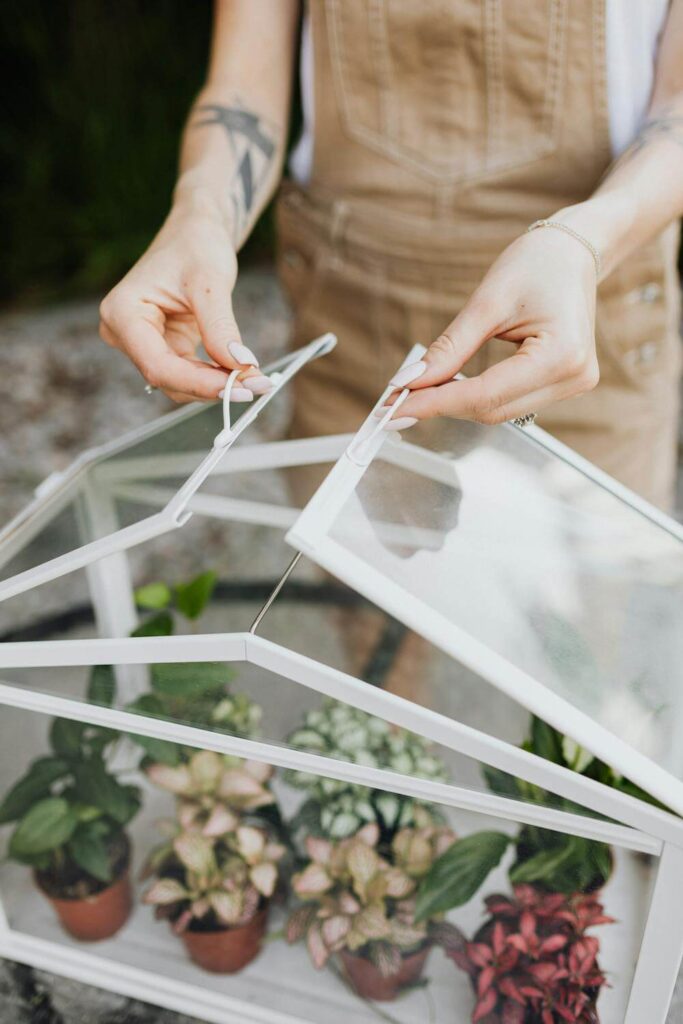
It is quite convenient and fun to start seeds indoors with a few basic supplies and a little patience. You get self-grown fresh flowers, herbs, and vegetables in your lovely garden. Starting transplants indoors gives more control over the results.
Spring is the perfect time to grow flowers from seeds such as cosmos, pansies, marigold, nasturtium, zinnia, aster, snapdragon, poppy, lupin, morning glory, sunflower, and many others.
You can attract a lot of birds by growing these plants at your home.
There are various choices for growing spring vegetables from seeds indoors. They can be tomato, beans, radish, cucumber, beet, zucchini, broccoli, cabbage, eggplant and many more.
There are various choices for herbal plants for indoor plantation. You can grow basil, oregano, parsley, cilantro, mint, thyme, and more.
Here are some of the basic requirements that you need on how to start seeds indoors:
1. The Containers
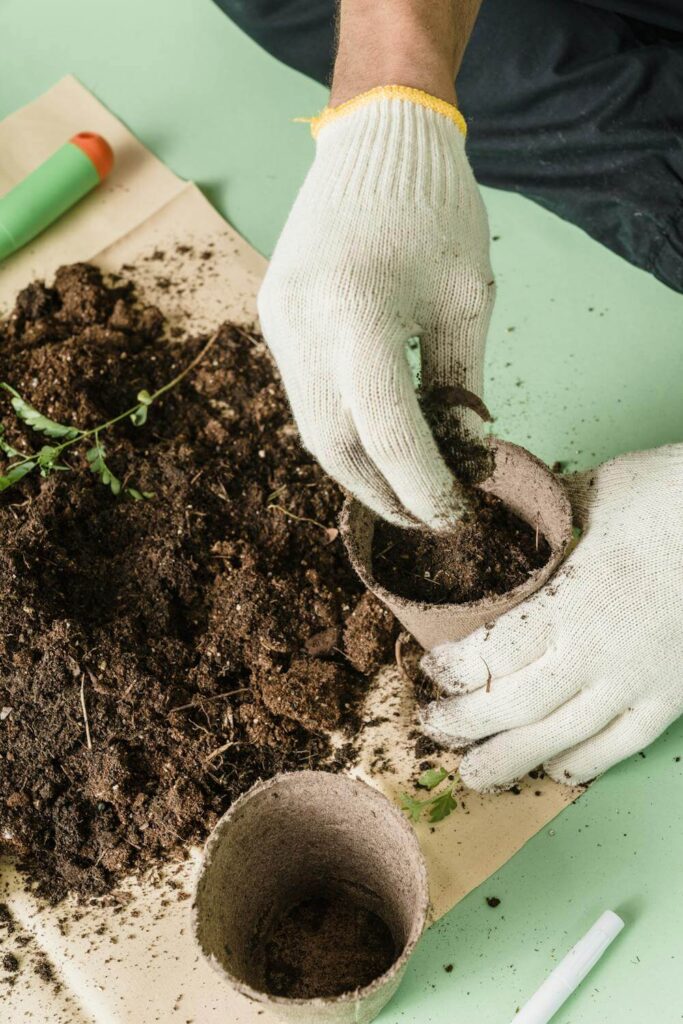
The first and foremost basic requirement to start spring seeds indoors is the container in which we can sow the seeds. Plastic seed trays and seed starter kits are super easy for growing seeds indoors. Clean yogurt cups, egg cartons, or any small containers are suitable. Seedling trays with compartments is an easy and efficient choice.
Shallow containers like peat, paper pots, clay pots, recycled, or DIY containers are some other alternatives.
You can opt for biodegradable containers that can be planted along with the seedlings.
The size depends upon the growing requirements. There are so many materials and sizes of containers. The pots measuring 2 to 4 inches in diameter are ideally suitable. These pots should contain a drainage hole in the bottom.
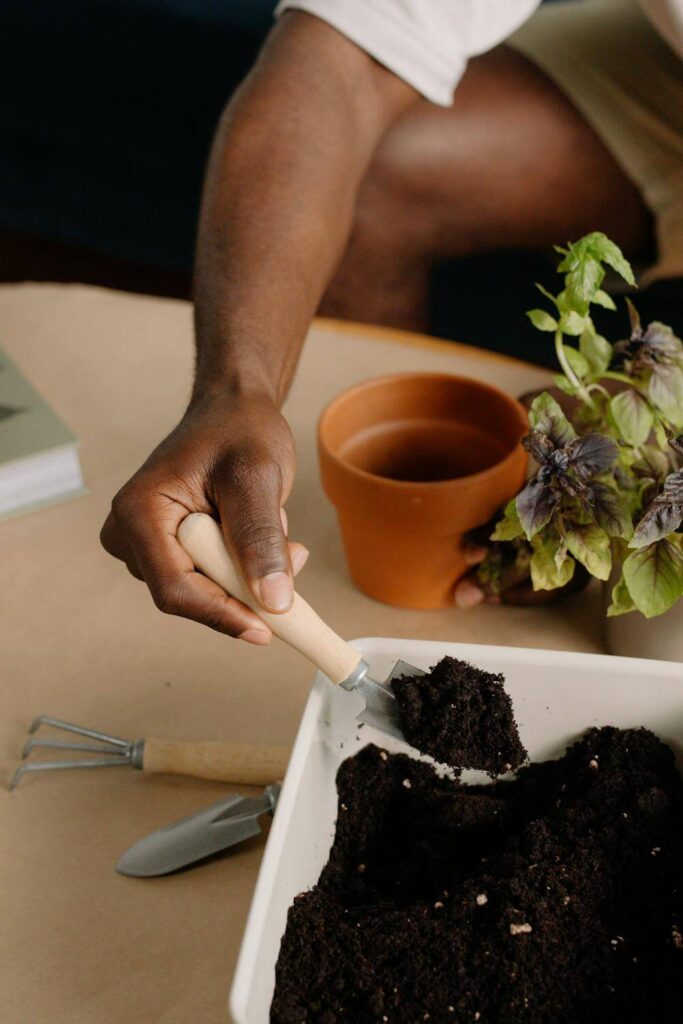
2. The Soil Mix
While some seeds can be started in potting soil others need a porous, finely-grained seed starting mix. The soil should be sterile, moisture-retaining, and lightweight. Overwatering should be avoided to prevent any harm. Remember, that the garden soil should be given the last priority for starting seed. They can bring disease and pests from outside.
The potting mix should be loose and damp before keeping it in the container. This process helps to maintain a uniform level of moisture.
After keeping the germinating mix in the container sprinkle some water to keep it moist but not dripping. The potting mix should not have any lumps. Tap down the mix to make the surface firm and level. The sowing of seeds should be in well-drained containers.
The seeds need optimal soil temperature to grow. They need to be started indoors for ideal soil temperature. The soil temperature controls the seed germination. A soil thermometer helps in getting the exact reading.
3. The Growing Light
For starting indoor seeds sufficient light is essential and plays a vital role. The fluorescent or LED light provides enough lighting to the seedlings.
These light fixtures provide light to the full range of the visible spectrum like the sun. They should be positioned 2 to 3 inches above the seedlings.
Their height should be adjusted as seedlings start growing. The information about the lighting requirement is mentioned in the seed packets. Growing lights enhance foliar growth and produce thicker stems.
Turn the lights on when the seeds start germinating. Seedlings need about 14 to 16 hours of light every day for their healthy growth.
In most cases, the longer light duration helps in growing. It is important to note that seedlings need a period of darkness also.
Hence the growing lights should not be kept on for 24 hours. A timer installed helps to turn the light on and off automatically.
Grown-up plants can be moved from growing lights to outdoors when the weather is warm and the light condition has improved.
4. Sowing Seeds
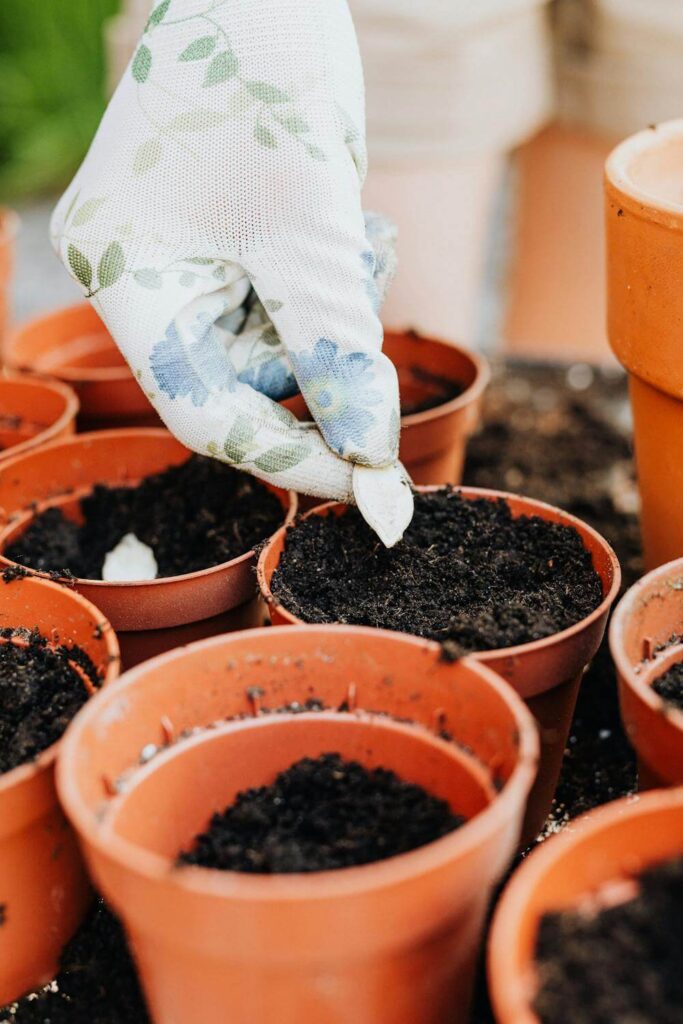
The most important part is the selection of the best quality seeds for good germination.
The seeds should be placed inside the hole made in the soil mix. The number of seeds and their depth in the soil is mentioned on the seeds packet.
If the seeds are very tiny you can sprinkle just a few of them on the soil mix. The larger seeds can be put 2 seeds in the soil in each cell.
The recommended spacing between the seeds should be maintained. The planting instructions vary on the type of seed and their germinating behavior.
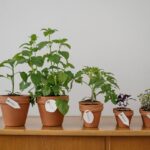
5. Label the Sowing
To prevent confusion, it’s important to label different varieties of seeds along with their sowing dates. Since many seedlings may have similar leaves, labeling ensures you can keep track of which variety was planted on which date.
You can use a popsicle stick, permanent marker, or plastic plant marker to mention the plant name, its variety, and the date of sowing.
These labels can be inserted at the edge of the container in the soil. It becomes easy to know what is growing.
6. Apply Nutrition

When the seedling starts growing the cotyledons start withering and the first true leaves start forming. The seeds planted in the growing mix do not contain soil. The tiny plants start the process of photo-synthesizing now.
This is the most appropriate time to supplement the growing medium with nutrients.
Balanced mild fertilizers like nitrogen and potassium give a boost to their root formation and growth. The moisture level should be maintained. Sprinkling water at regular intervals helps in their healthy growth.
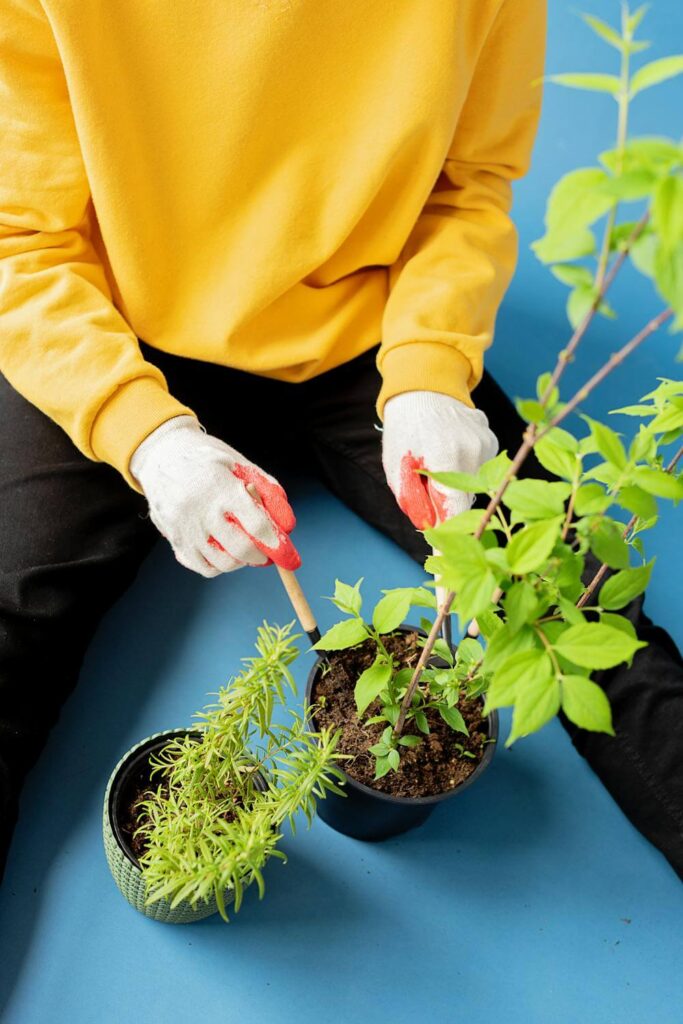
7. Repotting
When the seedlings start making their presence. It is easy to identify the healthy plants.
Snip the weak plants to ensure proper growth and maintain spacing between the seedlings.
When the seedlings reach a height of about two inches, repot them in regular potting mix in a larger container.
Before permanently transferring them into the garden, acclimate the seedlings to outdoor weather conditions.
Place the containers outside in a protected area for a short duration each day, gradually increasing the duration over time.
This will help the plants to adjust to the outer environments. These are important steps to start seeds indoors and make them ready for natural and healthy growth outside.
When To Start Seed Indoors?
The timing to start seeds indoors depends upon what you are growing and in which zone.
Seed packets typically indicate the sowing time based on the growing zone. It’s advisable to sow seeds early to initiate indoor planting.
It’s recommended to start the seeds approximately six to eight weeks before the first frost. Starting late delays the flowering and harvest time.
The seed packets usually mention the exact time for sowing. Around six to eight weeks before that is the suitable time for starting the seeds indoors.
The Benefits
To start seeds indoors allows starting in time that results in more harvest. It allows a few weeks of growing time in advance. Self-grown plants are much healthier.
Some nursery plants may be of poor quality and may not thrive when planted in the home garden.
Starting seeds indoors provides the option to choose wider varieties. You can time the plants to be ready when you want to plant them in your garden.
Conclusion
These tips for how to start seeds indoors and when to start seeds indoors can be beneficial when implemented correctly.
The requirement to grow seeds indoors is easy and cost-effective. You should have a growing container to plant the seeds and an appropriate soil mix. The healthy seeds are essential for better results.
Remember to label the containers for the identification of the plant. Provide enough nutrition to the plant by fertilizing the seedlings.
Now that you have the know-how to start seeds indoors, you can embark on your gardening journey with ease. It’s time to welcome new plants in your home!